
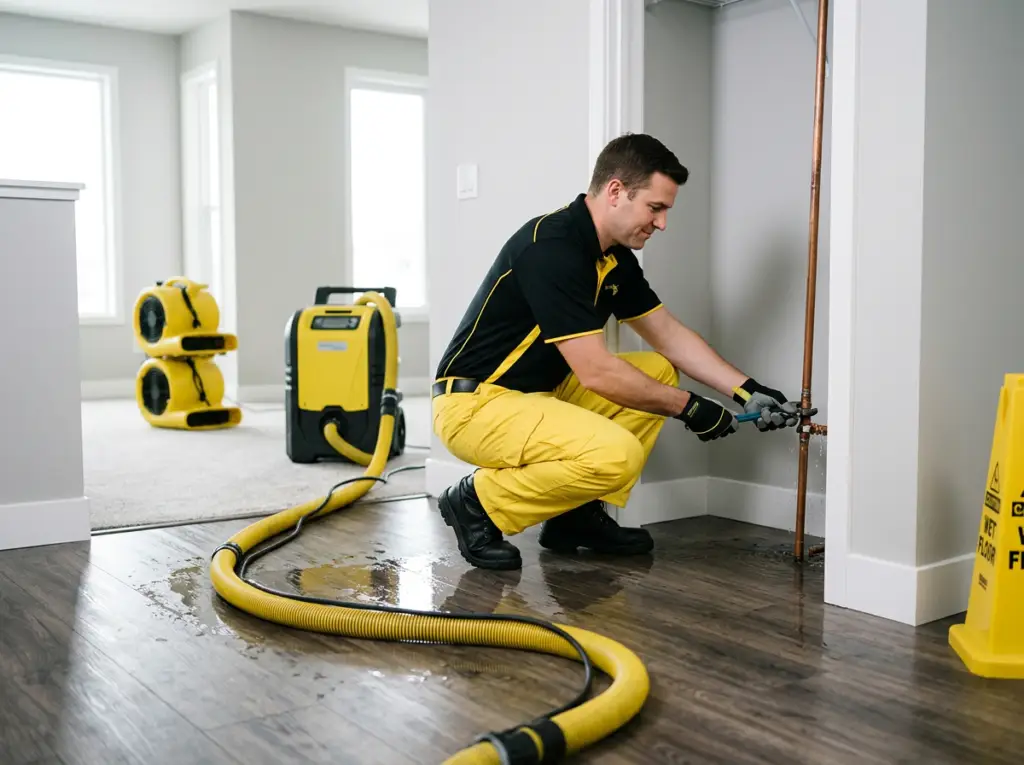

What counts as a minor repair after mold or water remediation?
Minor repairs put back the materials removed during mold or water remediation: drywall patches and flood cuts, baseboard and trim, insulation in opened wall bays, primer and paint. They start only after the moisture source is fixed and the area passes post-remediation checks, and they stay within one or two rooms without structural, cabinet or whole-floor replacement.
Why do repairs wait until remediation is cleared?
Closing a wall too early is the most common way a finished mold job fails. The EPA's guide to mold remediation in schools and commercial buildings lists what "finished" means: the water or moisture problem must be completely fixed, and visible mold, mold-damaged materials and moldy odors should not be present. If sampling was done, indoor mold types and concentrations should be similar to those outside.
The same EPA guide warns against painting or caulking moldy surfaces, noting that paint applied over mold is likely to peel. That is why repair crews follow, rather than overlap with, safe mold removal and containment and HEPA air filtration.
The industry procedure, ANSI/IICRC S520 (fourth edition, 2024), includes post-remediation verification as a defined step. In practice, that check, whether a visual inspection, moisture readings or third-party sampling, is the handoff point between remediation and rebuild.
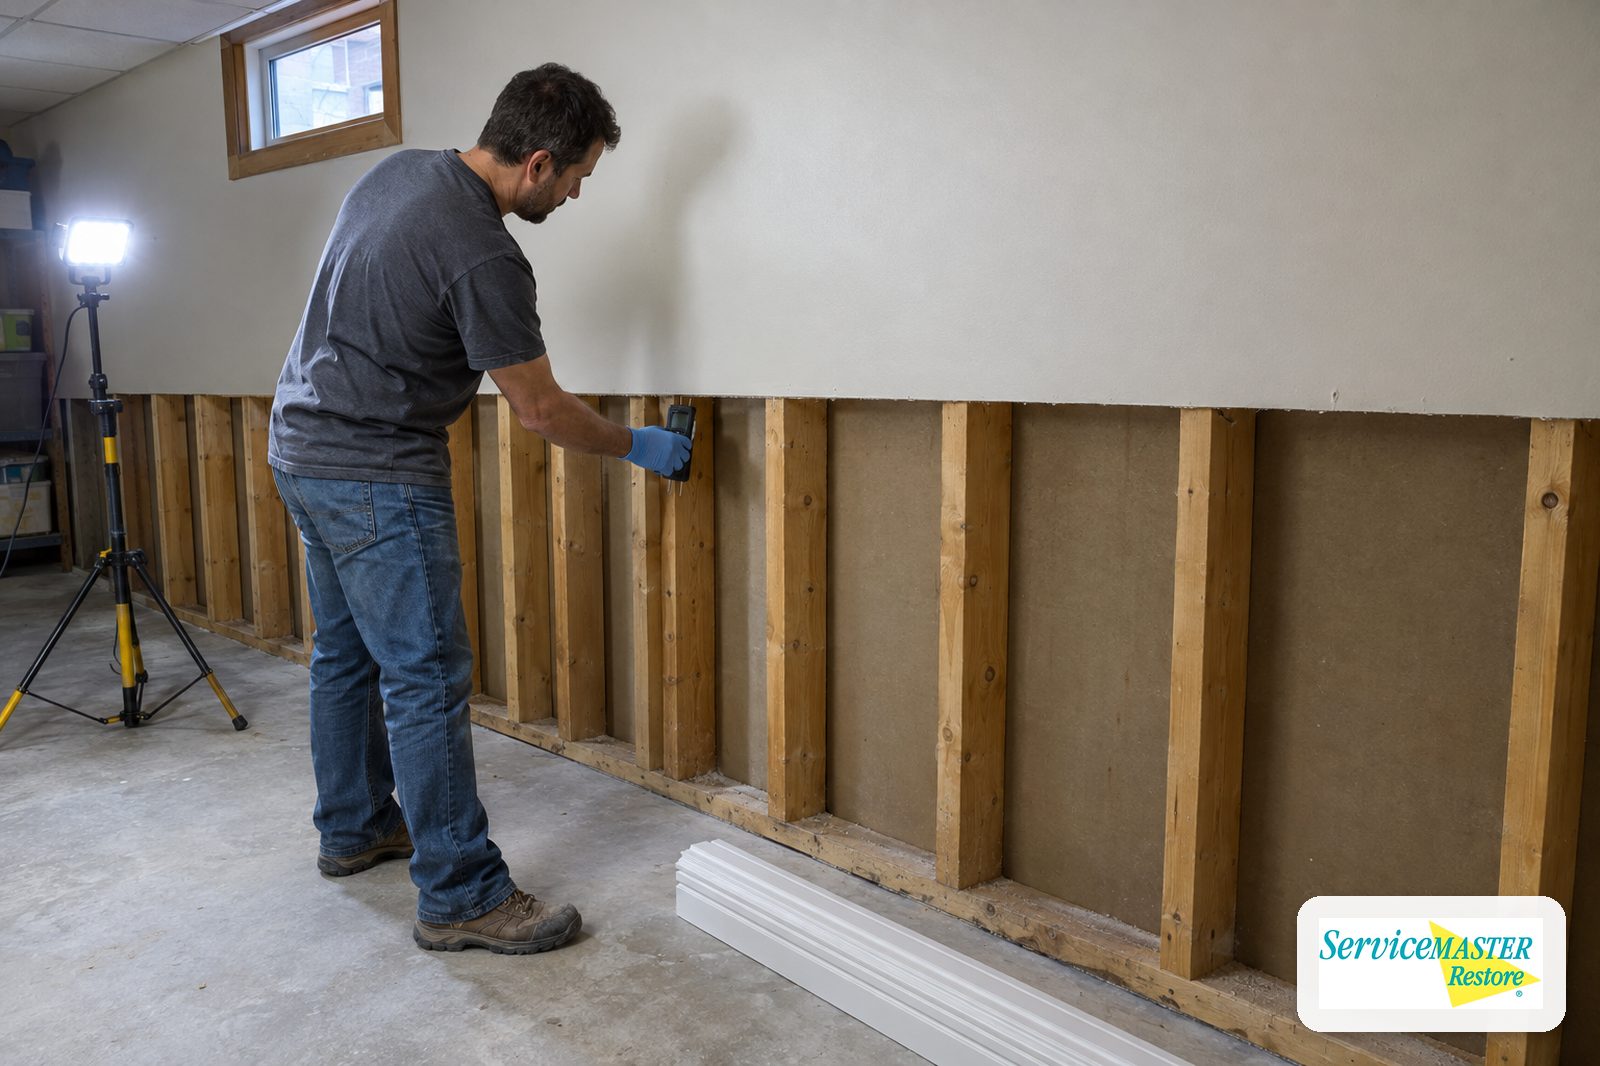
Open bays tell you what to replace
When drywall comes out in a flood cut, the exposed studs, bottom plate and insulation are visible. That is the moment to confirm framing is dry and clean, so the repair can replace only what was removed instead of guessing.
How big was the removal, and why does it matter for repairs?
The size of the affected area drives how the removal was contained, and that sets the size of the repair. EPA's home guidance says areas under about 10 square feet can often be handled by a homeowner; larger areas follow its commercial-building guidance.
| Affected area | EPA containment guidance | Protective equipment noted by EPA |
|---|---|---|
| Under about 10 sq ft (roughly 3 ft by 3 ft) | In most cases a homeowner can handle the job by following EPA guidelines | Minimum: N-95 respirator, gloves and eye protection |
| 10 to 100 sq ft | Limited containment: single layer of 6-mil fire-retardant polyethylene, kept under negative pressure | Disposable protective clothing recommended; respirator chosen for the job |
| More than 100 sq ft | Full containment: double layer of polyethylene with a decontamination chamber or airlock, under negative pressure | Disposable protective clothing recommended; respirator chosen for the job |
Sources: U.S. EPA, A Brief Guide to Mold, Moisture and Your Home; U.S. EPA, Mold Remediation in Schools and Commercial Buildings, Chapter 3.
What does "minor" usually cover, and when is it reconstruction?
Most post-remediation repairs in homes look like this:
- Replacing drywall from a flood cut, the strip removed along the bottom of a wall, then taping, texturing and priming.
- Reinstalling or replacing baseboard, door casing and shoe molding removed for access.
- New insulation in the wall bays that were opened.
- Closet shelving, access panels, caulk and sealant at tubs, sinks and windows.
- Primer and paint so the patched wall matches the room.
Once the work involves cabinets, flooring across several rooms, framing, or electrical and plumbing changes, it is a repairs and reconstruction project with its own scope, permits and schedule.
Keep the remediation scope, the clearance results and the repair invoice together. If the work was part of an insurance claim, the adjuster may want to see that the rebuild matches what was removed, and a future buyer may ask what was done in the basement and when.
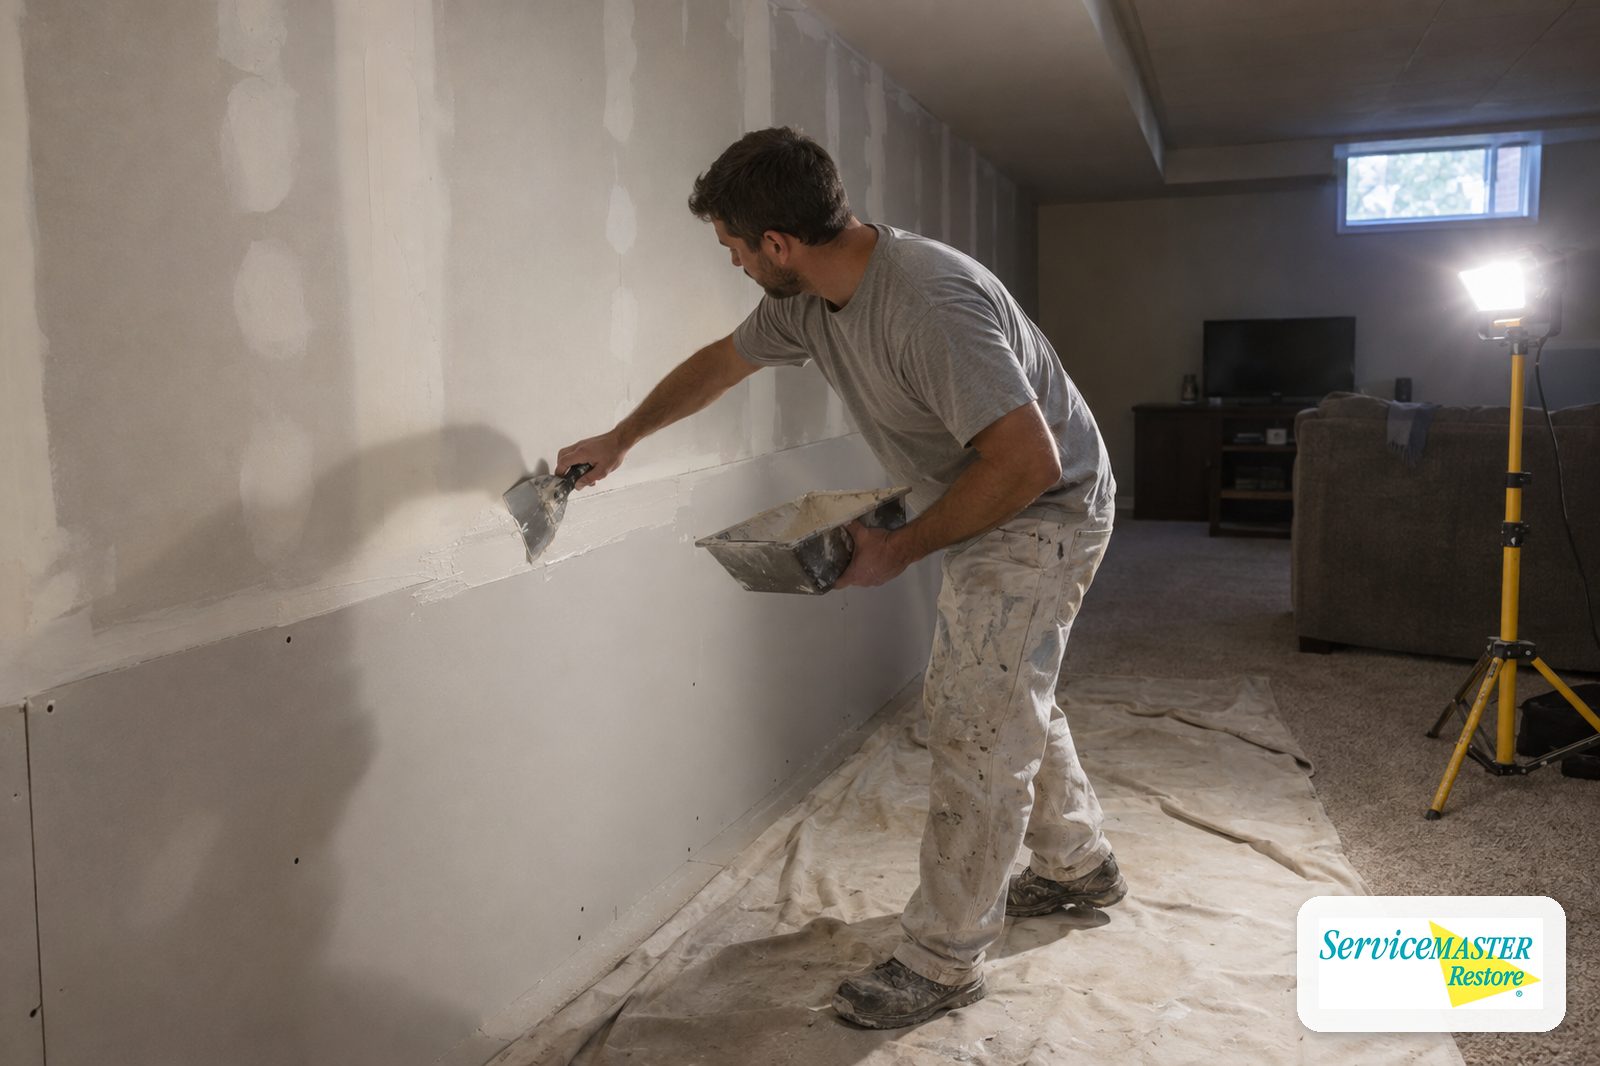
Patches should disappear, not just close the hole
A patch that is taped but not textured, or primed but not painted wall to wall, will flash under raking light. Matching the existing texture and repainting to the nearest corner is what makes a small repair look finished.
Do lead paint rules apply to small repairs in older homes?
They can. Under EPA's Renovation, Repair and Painting rule, paid work that disturbs paint in homes built before 1978 generally requires a certified firm. The rule's minor repair exception covers jobs that disturb six square feet or less of paint per room inside, or 20 square feet or less on the exterior. Window replacement and demolition of painted surfaces are always covered, regardless of size.
Illinois is not one of the states EPA has authorized to run its own program, so the federal RRP program applies here. A flood cut across a painted wall in a pre-1978 basement can easily exceed six square feet, so ask about certification before work starts.
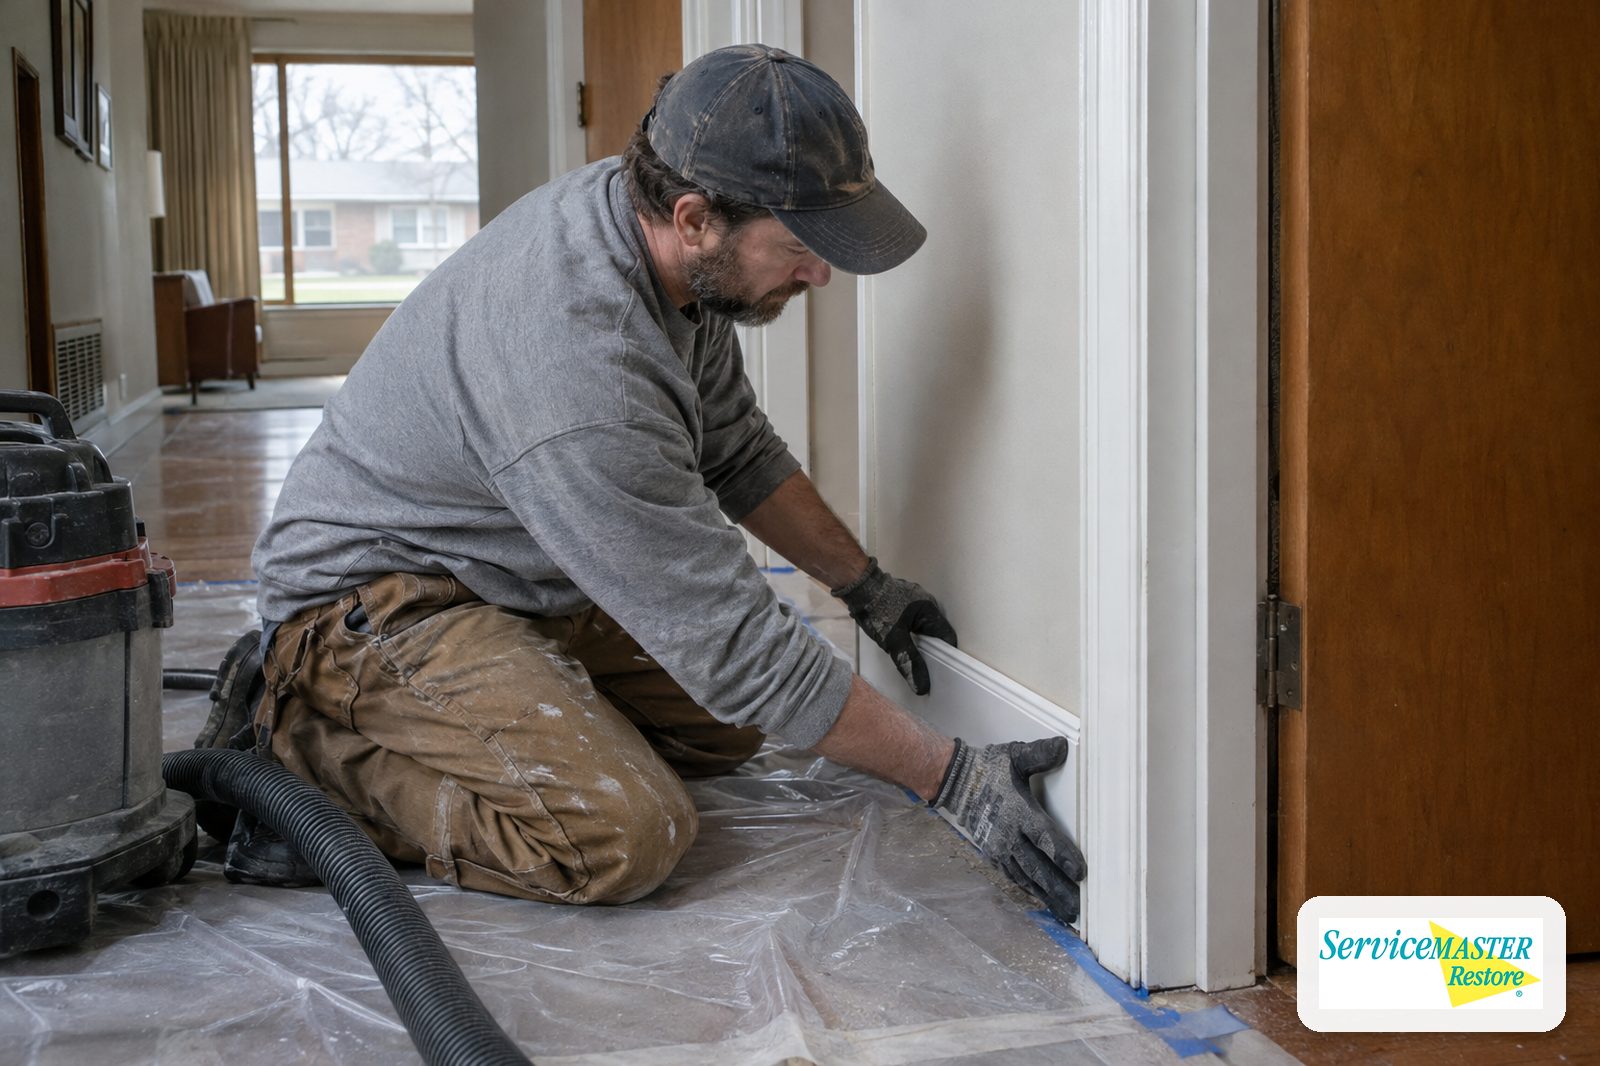
Older trim and casing deserve a careful look
Original painted trim in a pre-1978 home may be salvageable rather than replaced. Removing it carefully keeps the profile, but it also disturbs old paint, which is where lead-safe practices come in.
How does a post-remediation repair usually go?
- Confirm clearance. Review the post-remediation check and final moisture readings for the opened area.
- Define the scope. List each removed material by location and quantity so nothing is missed or double counted.
- Protect the room. Cover floors and contents and control dust, using lead-safe practices where older paint is involved.
- Replace hidden layers. Install insulation and any vapor control the wall assembly calls for.
- Hang and finish drywall. Fasten, tape, mud and match the existing texture.
- Reinstall trim. Fit baseboard and casing, then caulk joints.
- Prime, paint and walk through. Paint to natural breaks and review the finished area with the owner.
Minor repairs in DuPage and Will County basements
Most of the post-remediation repairs we see from our Lisle office are in finished basements, where humid summers, sump pump failures and foundation seepage are common causes. Homes in Naperville, Woodridge, Downers Grove and Darien often need the same flood-cut drywall and baseboard replacement once residential mold remediation is complete. Keeping the space dry afterward is covered under moisture control and long-term prevention.
For more on the process, read how long mold remediation takes and mold removal vs. mold remediation, or return to our mold remediation overview.
Ready to finish the job? Contact us or call (630) 241-1111.
Frequently asked questions
How soon can drywall go back up after mold remediation?
Only after the moisture source is fixed and the area passes its post-remediation check. EPA says a finished cleanup has no visible mold, no mold-damaged materials and no moldy odors, and the framing should read dry. Rushing the patch traps any remaining moisture inside the wall, where new growth can start out of sight.
Can I paint over mold instead of replacing drywall?
No. EPA advises against painting or caulking moldy surfaces and notes that paint applied over mold is likely to peel. Porous materials such as drywall, ceiling tiles and carpet may need to be discarded if they become moldy, because mold can be difficult or impossible to remove from them completely. Clean, dry and replace first, then paint.
Why was more drywall removed than the stain I could see?
Mold and moisture often extend past visible staining, especially on the back of drywall and into insulation. Remediators commonly cut back to clean, dry material so the hidden growth goes with it. Ask to see the moisture readings and photos of the opened wall; they explain how far the removal had to go.
Do I need to replace insulation after mold remediation?
Usually, yes, for wall bays that were opened. Insulation that was wet or exposed to mold is typically removed during remediation, and fiberglass or cellulose that stays damp loses performance. Replacement insulation goes in after the cavity is confirmed clean and dry, before the new drywall is hung.
Who should repair the wall after mold removal?
The remediation company, a general contractor or a handyman can do it, as long as the work starts after clearance and the scope matches what was removed. In homes built before 1978, any paid work disturbing more than six square feet of paint per room generally needs an EPA lead-safe certified firm.
Sources
- U.S. Environmental Protection Agency: Mold Remediation in Schools and Commercial Buildings, Chapter 3
- U.S. Environmental Protection Agency: A Brief Guide to Mold, Moisture and Your Home
- IICRC: ANSI/IICRC S520 Standard for Professional Mold Remediation
- U.S. Environmental Protection Agency: Renovation, Repair and Painting Program: Contractors
- U.S. Environmental Protection Agency: Lead Renovation, Repair and Painting Program